

A time clock that stops working is never convenient, and it’s usually discovered right before payroll’s due. The good news is most problems fall into one of three buckets: power, communication, or the device failing to read the employee (a badge, a fingerprint, or a face). Working through them in that order, rather than jumping straight to “replace the whole clock,” saves time and often the cost of new hardware.
This guide applies broadly to physical time clocks, not just one brand, whether it’s a fingerprint scanner, an RFID badge reader, or a tablet running facial recognition.
Step 1: Check Power First
If the clock’s screen is blank or it won’t turn on at all, start here before anything else. Most physical time clocks run on a 12V external power adapter, the small square “power brick” style, and these fail more often than the clock itself. Replacements typically run around $10 and are easy to find on Amazon; just match the voltage and amperage printed on the original adapter.
If you have more than one clock on-site, isolating the problem is simple: take the power cord from a working clock and plug it into the dead one. If the dead clock powers up, the adapter was the problem. If it still doesn’t, check the outlet itself, a tripped breaker or a dead outlet is a common and easy fix.
Some newer clocks run on Power over Ethernet (PoE) instead of a wall adapter, meaning power comes through the network cable itself. If your clock is a PoE model and it’s not powering on, the issue is more likely the network switch or PoE injector than the clock, check that the port is actually supplying power.
Step 2: Check Communication
If the clock powers on and employees can badge in or scan a finger, but punches are missing or showing up late in your software, that points to a communication problem rather than a power problem. This could be happening on the device side (no Wi-Fi or Ethernet connection) or on the server side (the software isn’t receiving or processing what the clock sends).
It helps to understand how your clock actually sends data. Some clocks push punches to the server in real time, as they happen. Others hold punches locally and wait for the server to reach out and pull them on a set schedule. If you’re not sure which type you have, check the clock’s network or connection settings menu, most devices show a connection status indicator there.
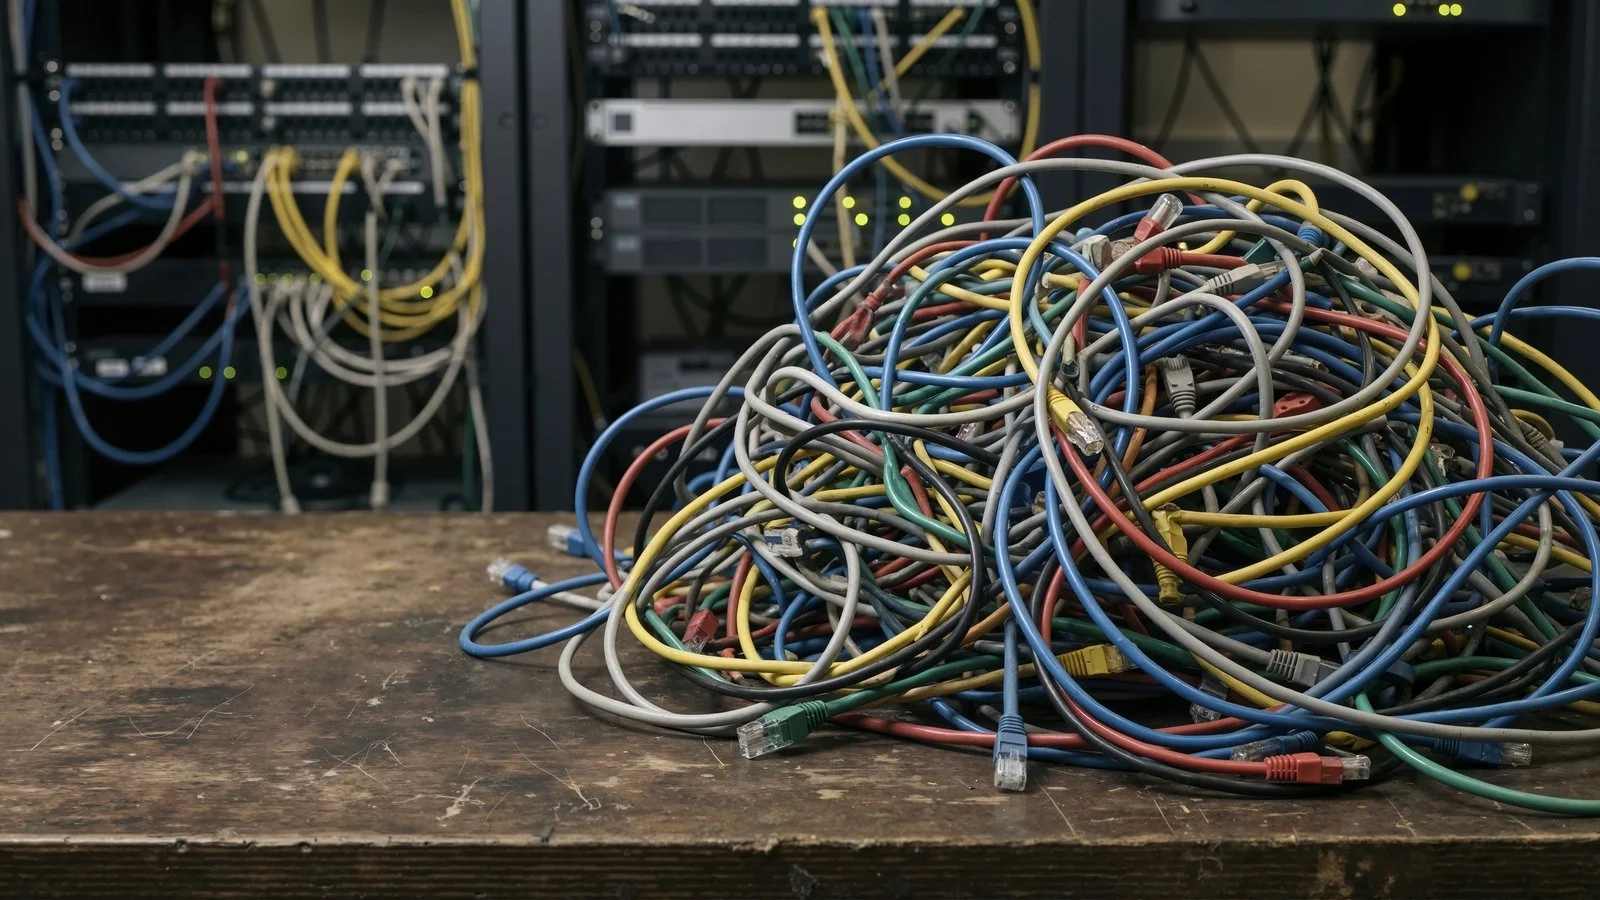
In a multi-clock environment on Ethernet, a useful test is to physically swap two clocks between locations. If the problem follows the clock to its new location, the issue is likely with the device itself, often a Wi-Fi configuration problem. If the problem stays behind at the original location, it’s more likely the network connection there, a bad cable, a faulty switch port, or a wiring issue.
Hardwiring the clock directly into the switch (bypassing any patch panels or long cable runs) is a good way to rule out a bad connection in the middle. If it starts working reliably once hardwired, the original wiring or port is the culprit. It’s also worth checking whether a firewall or router setting might be blocking the clock from reaching your software’s server, this can make a clock look “connected” locally while punches still fail to sync.
Step 3: Badge Not Reading
If the clock is powered and communicating, but it’s not accepting badges properly, the issue is usually one of two things: a mismatch between the badge and the employee record, or the badge (or reader) physically failing to read.
Start by checking the assignment. Every badge has its own ID number, and if an employee’s punches aren’t showing up correctly, double-check that the ID printed or encoded on their physical badge actually matches what’s assigned to them in the software. A simple mismatch here is a common, easy-to-miss cause.
If the clock isn’t recognizing the badge at all, what to check next depends on the badge type:
Barcode badges fail when the printed barcode wears off, fades, or gets scratched or marked over (even a stray pen mark can block a scan). Inspect the card under good light; if it’s damaged, reissue a new one rather than troubleshooting further.
Magnetic stripe badges wear out from repeated contact with the reader, the same way older magnetic-stripe credit cards used to degrade with heavy use. The reader’s read head wears too, since it’s making physical contact on every swipe. If several employees start having trouble around the same time, suspect the reader head rather than individual cards. Cleaning the card slot with an isopropyl-alcohol cleaning card (the kind sold for POS card readers) can sometimes resolve grime-related read errors before you replace anything.
RFID proximity badges don’t wear out from contact, since there’s no physical contact involved. When these fail to read, it’s almost always a format mismatch rather than a worn card. There isn’t one universal RFID standard: common low-frequency (125kHz) formats include EM4100, HID Prox, and Indala, and despite sharing the same radio frequency, they use different data encoding and are not interchangeable. A reader built for one format simply cannot read a badge from another, even though both are technically “125kHz.” Most standard time clock readers support one format, so if new badges suddenly stop working, confirm they’re the same format as your existing reader before assuming the reader itself is broken. Some newer multi-frequency readers can read more than one format (both 125kHz and 13.56MHz NFC-style badges, for example), so check your device’s specifications if you’re mixing badge batches from different vendors.
Step 4: Fingerprint Not Reading
Fingerprint sensors fail to read for a handful of predictable reasons, and most are fixable without replacing anything.
The most common cause is a finger that’s too dry, too oily, or just dirty. Very dry skin doesn’t leave enough of a print for the sensor to capture; having the employee rub the finger against the side of their nose or forehead briefly, to pick up a small amount of natural oil, is a real, commonly recommended trick that often fixes a dry-read failure on the spot. Grease, lotion, or other residue on the finger has the opposite problem and can also cause a bad read, so have the employee wipe their hands first.
A dirty or scratched sensor surface causes the same kind of failure from the other direction. Wipe the sensor gently with a soft, lint-free cloth; isopropyl alcohol is safe for most sensors, but avoid anything abrasive that could scratch the surface.
Worn fingerprints are common among employees doing manual labor, where ridges can wear down enough that the sensor consistently struggles to get a clean read. If this keeps happening to the same person, re-enroll them using a different finger.
Placement and pressure matter too. The pad of the finger, not just the tip, should rest flat in the center of the sensor with light, even pressure. A finger placed at an angle or pressed too hard is a common source of “no read” errors that looks like a hardware problem but isn’t.
If none of that resolves it, re-enrolling the employee’s fingerprint from scratch (rather than just retrying) often clears up a poor original enrollment. Enrolling a second, backup finger is also good practice, so a single injured or hard-to-read finger doesn’t block someone from clocking in.
Step 5: Facial Recognition Not Working
Facial recognition failures usually trace back to either the enrollment photo or the lighting conditions at the clock.
Enrollment quality matters more than people expect. A blurry, poorly lit, or angled enrollment photo makes future matches harder. If an employee has repeated trouble, check their profile photo and re-enroll them with a clear, well-lit, front-facing image.
Lighting changes at the clock’s location, a window that lets in harsh afternoon sun, a light fixture that’s burned out, can throw off recognition even for a properly enrolled employee. If problems started after something changed nearby (new lighting, moved furniture, a different mounting angle), that’s usually the first thing to check.
A dirty or obstructed camera lens is worth ruling out too, and it’s an easy fix, just wipe the lens. Also confirm the employee is actually assigned to the correct device or location in the software; a clock that’s connected but pointed at the wrong location’s employee list will reject everyone.
Worth noting: facial recognition involves biometric data, which several states, including Illinois, Texas, and Washington, regulate specifically, often requiring written notice or consent before enrollment. If you’re troubleshooting a repeated rejection, it’s worth confirming the employee was properly enrolled and consented in the first place, not just a technical fix.
When to Call It
If you’ve confirmed power is good, the network connection is solid, and the reader itself (badge, fingerprint, or camera) is clean and correctly configured, but the problem persists, that usually points to a genuine hardware failure rather than something fixable on-site. At that point, it’s time to contact your provider’s support team or replace the device.
TimeTrakGO’s GOtime5 devices support both fingerprint and RFID badge reading in one unit, with Wi-Fi and Ethernet connectivity. If you’re troubleshooting a clock that keeps causing problems, or shopping for a more reliable replacement, check out the GOtime5 or explore facial recognition on a tablet you already own. And if missing punches keep slipping through, TimeTrakGO’s dashboard flags them automatically, so you catch a communication problem before payroll day instead of after. Start a free 14-day trial to see it for yourself.
About the Author: Brian Zurawski